Tuesday 31 December 2013

Druid banner - final blue spirals

Sorry for the long gap between posts, but it's a busy time of year!  I've been having a lovely few days off with family, and I hope you are all enjoying whatever holiday you celebrate, or just life in general.

The central section is the last to be worked in the light blue.  As with the side pieces, it's just half - or less than half - of the full area that will eventually be done.

Here it is:


All the light blue spirals, completed:


It's starting to become clearer how the design is going to work, isn't it?

Next, the bottom half, in green.  See you in the New Year!

Friday 20 December 2013

Druid banner - top spirals

Just a quick catch-up today.  Having completed the spirals down the side, I did the ones along the top.

And here they are:


All work so far:


The central section will be the last for this stage, with the light blue.  That's next!

Sunday 15 December 2013

Druid banner - couching the spirals on the sides

Now I've started stitching, it's just a case of continuing with the couching and following the lines of the design.  To recap, the first section I'm doing is the spirals on the top half of the circle outside of the trilithon, in a couched variegated light blue metallic thread.  The trilithon breaks the design up into a few distinct areas, which I can tackle one at a time.

So without further ado, here's the first one:


I'm really pleased with how it looks - the variegated metallic thread gives a nice, almost iridescent, effect, I think, and it catches the light beautifully.

Here it is in context:


And the section on the left:


All work so far:


I think it's coming along very nicely!

Saturday 7 December 2013

Druid banner - threads and couching

Time to start actual embroidery!

Now the design, or the part of it I'm starting with, anyway, is transferred to the front, I can embroider over the top of it.  I'm using Benton & Johnson coloured metallic threads, and for this section I'm using Marine Blue, which is a lovely variegated one.  I'm couching it (I'll explain what this is in a moment), and using Gutermann rayon machine embroidery thread no. 1134 for that:


Couching is where one thread, in this case the metallic one, is laid on the surface of the fabric, and stitched down with a second thread.

Contrasting colours can give a nice effect, but in this case I want the couching thread to be as little seen as possible, so I'm using a thread that's as close in colour as I could find, quite fine, and quite shiny, so it doesn't break the shine of the couched thread.


Here, you can see two strands of the metallic thread on the surface of the fabric, laid over the transferred design, and being stitched down with the finer thread.

I started with the outer circle:


After a bit of fiddling around with camera settings I've managed to get something that's reasonably close to the real colours, which is a relief, as with my earlier photos you really weren't getting an accurate impression of what it was like.  Now, hopefully, you should be follow work as it progresses much better.

Sunday 1 December 2013

Druid banner - getting the design onto the front

Last time, I'd mounted the fabric to be stitched onto an embroidery frame, complete with a back-to-front ironed-on transfer of the design on the back:


That's all very well, but I need the design on the front, in order to stitch it.  Now what?

To get the design from the back of the fabric onto the front, I stitched over the transferred design on the back with small running stitches:


Here, I've done the section on the right, to one side of the 'trilithon'.  I've used a fairly dark blue sewing thread, so that later on it won't be seen.

This has the rather unfortunate side effect that it can't really be seen in my photographs, either.


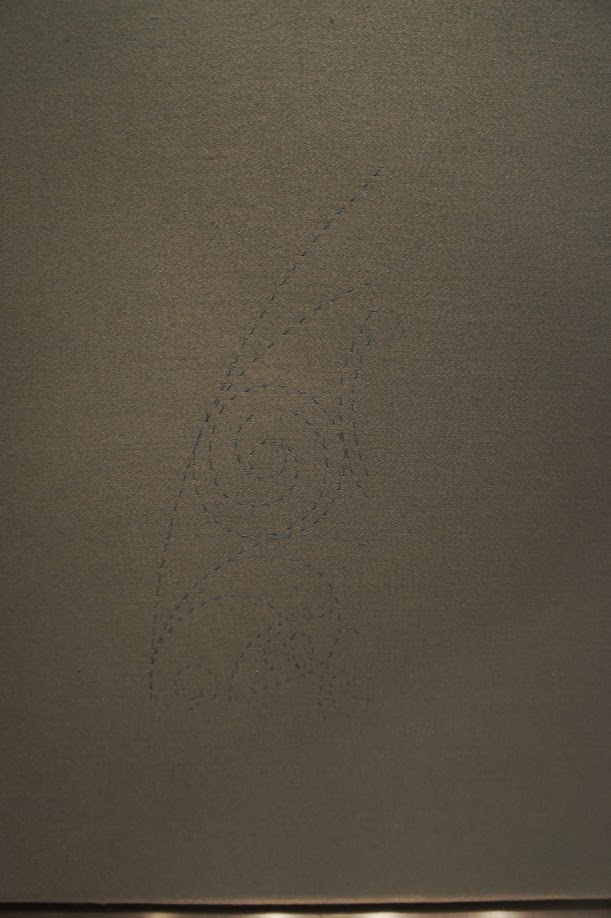
I'm afraid photography isn't my strongest suit (I expect you've realised that!) and I've done my best, but it's not marvellous and it makes the green fabric look a nasty muddy colour that is not how it looks in real life at all.  Anyway, if you peer at it as best you can, you should be able to see the design in a dotted line formed by the running stitches on the front fabric.

There's a brief overview of different methods of transferring a design to fabric here, but despite being by far the most time-consuming, this is definitely my favourite.  It's great for getting a design onto dark fabric where other methods are hard to see, and, most importantly, it doesn't mark the top fabric at all.  If I decide a line is in the wrong place I can just unpick the stitches and it's as though it was never there, while all other methods that mark up the top fabric can leave traces that can be very difficult to get rid of.  It might take a while to do, but it's worth it.

Back to the design.  I'm going to be building it up in stages, which should make sense as I go along.  The first stage is the spirals in the top, blue, half outside of the trilithon.  Once all the running stitches have been done over the design on the back, I have all the design for the part I'll be working on first transferred to the front:


Time to start proper stitching!