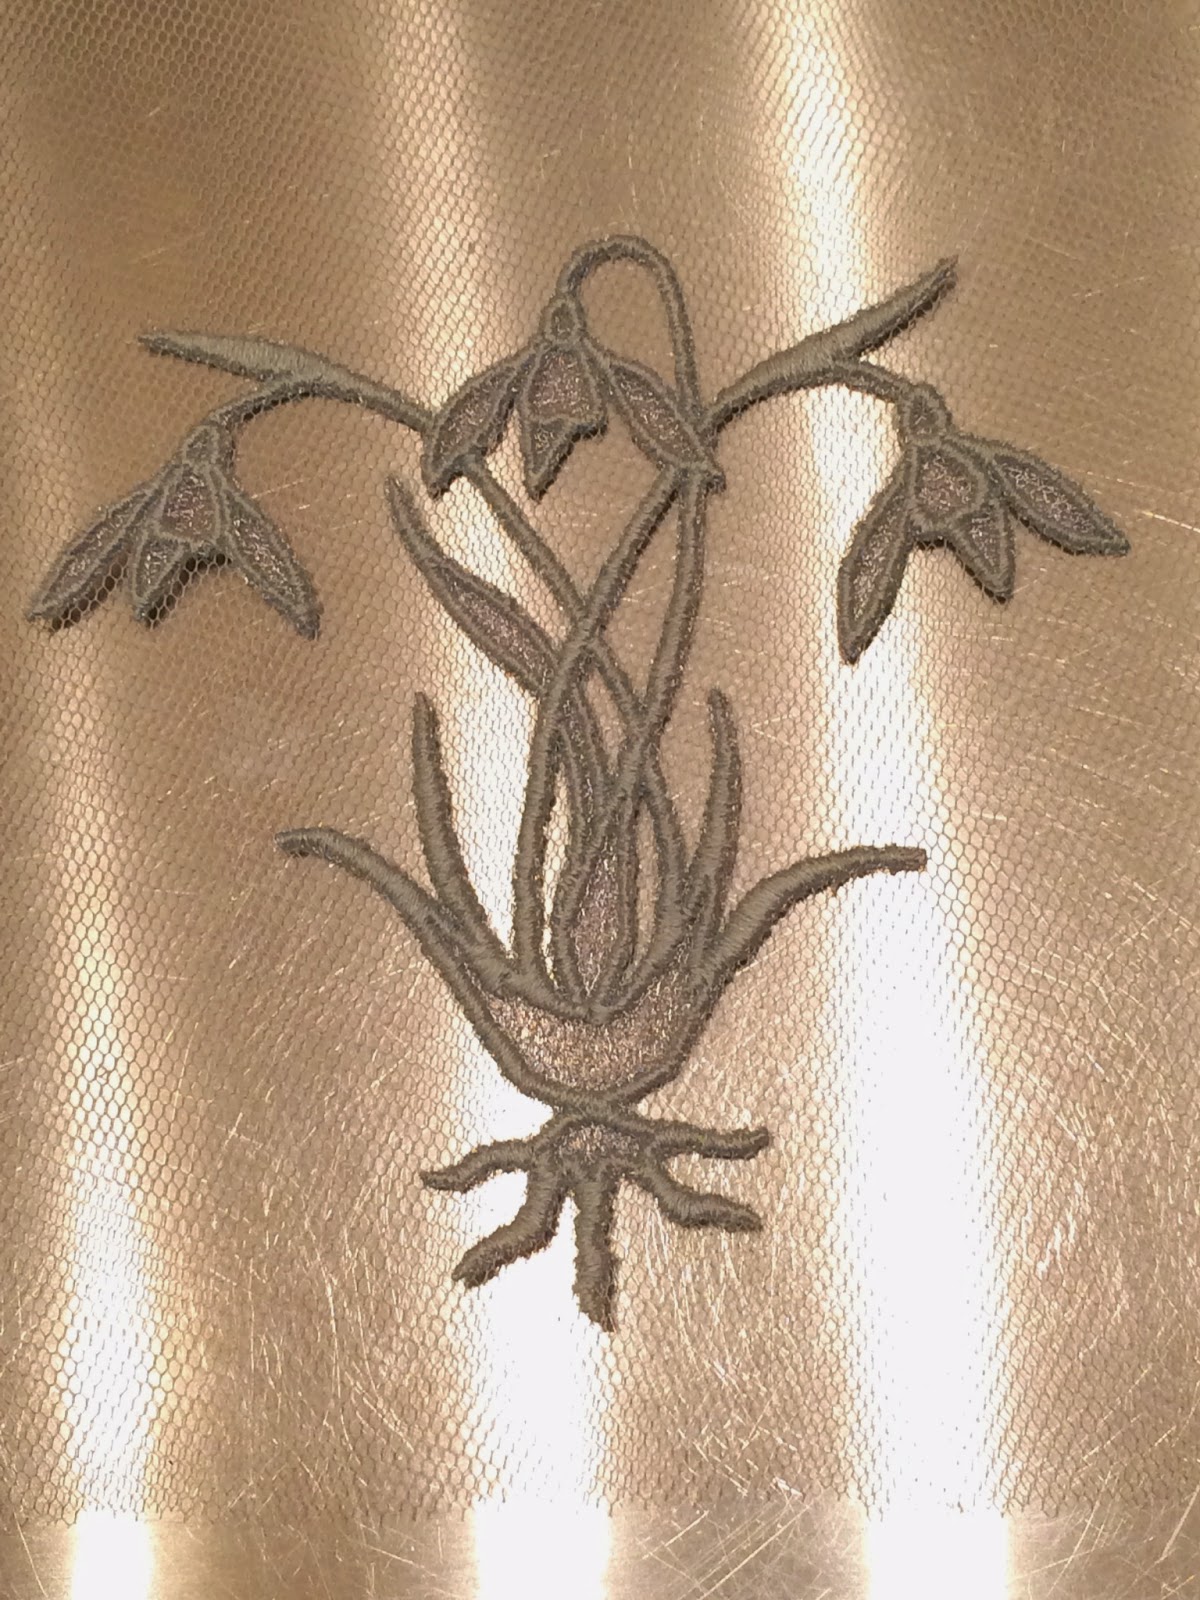
For this I'm only using one colour: white:
That's Madeira stranded cotton no. 2401.
Part of the outline in split stitch (against a black background so you can see it):
And the rest:
I'll start to fill it in next.
Sunday, 14 December 2014
Thursday, 11 December 2014
White snowdrop sample
Same design, slightly different approach. This time, I want to see how it works in white-on-white. I'll be using the same cut-out-and-apply technique so it's not proper whitework, of course, but I'm interested to see how convincing - or otherwise! - it is.
So starting out the same as before, tracing the design onto silver organza with a light blue ultra-fine Sharpie pen:
The traced design taken off the drawn image that was beneath it in the first photo:
Painted white, and still on the paper:
Off the paper, onto a frame and ready to stitch:
It's a bit faint, but it's still easy enough to see, so I shouldn't struggle to stitch over the lines.
So starting out the same as before, tracing the design onto silver organza with a light blue ultra-fine Sharpie pen:
The traced design taken off the drawn image that was beneath it in the first photo:
Painted white, and still on the paper:
Off the paper, onto a frame and ready to stitch:
It's a bit faint, but it's still easy enough to see, so I shouldn't struggle to stitch over the lines.
Saturday, 6 December 2014
Silver snowdrop sample - completed
With the snowdrop cut out, I needed to stitch it to a background fabric, but as this is an experiment, I decided to try a completely different fabric to usual: net.
Pinned to a square of white net:
The pins all go over the stitching, not into it, and are enough to hold it in place.
I stitched it down with the same stranded cotton used for the satin stitch, with the stitches going right over the stitched parts (outlines and leaves) rather than into the stitching, in the hope that it wouldn't be visible when I was finished:
I think that works well, I'm pleased, though to make it stand out a bit better and feel a bit more robust, I stitched the net to a square of white silk satin:
They're just held together with a line of zig-zag machine stitching along the top - the snowdrop isn't stitched to the satin background at all.
All in all, I'm pleased with how this has turned out. I think perhaps this technique would work better with a design with larger areas for the Italian tubular mesh wire ribbon to show through, but as a proof of concept it's turned out well.
And I do like that snowdrop...
Pinned to a square of white net:
The pins all go over the stitching, not into it, and are enough to hold it in place.
I stitched it down with the same stranded cotton used for the satin stitch, with the stitches going right over the stitched parts (outlines and leaves) rather than into the stitching, in the hope that it wouldn't be visible when I was finished:
I think that works well, I'm pleased, though to make it stand out a bit better and feel a bit more robust, I stitched the net to a square of white silk satin:
They're just held together with a line of zig-zag machine stitching along the top - the snowdrop isn't stitched to the satin background at all.
All in all, I'm pleased with how this has turned out. I think perhaps this technique would work better with a design with larger areas for the Italian tubular mesh wire ribbon to show through, but as a proof of concept it's turned out well.
And I do like that snowdrop...
Tuesday, 2 December 2014
Silver snowdrop sample - cutting out
And now the bit I've really not been looking forward to: cutting it out. It's quite a fiddly design with quite a few skinny bits, so the potential for disaster is quite high.
No photo of this bit, but as is now becoming routine, I painted over the back of the stitching with watered-down PVA glue. I only painted over the stitching, not the unstitched areas of the mesh in the centre of the larger parts of the design, as I didn't want anything coming through the the front where it might be visible.
Once that had dried properly (I always leave it overnight, to make sure), I started cutting it out - first around the edge:
I didn't notice that the snowdrop on the left had got tucked under the central one until it was far too late to retake the photo, but never mind. You might also be able to see what looks like fluff on the paper it's resting on - this is actually little bits of wire from the mesh, which frayed everywhere from the offcuts, but - thankfully - not the side that had been overstitched. I'd been a bit worried that it might all just unravel, but happily it didn't.
The unwanted areas in the middle cut away - the really scary bit!
Success! That's a relief. Stitching it to a background fabric should be plain sailing.
No photo of this bit, but as is now becoming routine, I painted over the back of the stitching with watered-down PVA glue. I only painted over the stitching, not the unstitched areas of the mesh in the centre of the larger parts of the design, as I didn't want anything coming through the the front where it might be visible.
Once that had dried properly (I always leave it overnight, to make sure), I started cutting it out - first around the edge:
I didn't notice that the snowdrop on the left had got tucked under the central one until it was far too late to retake the photo, but never mind. You might also be able to see what looks like fluff on the paper it's resting on - this is actually little bits of wire from the mesh, which frayed everywhere from the offcuts, but - thankfully - not the side that had been overstitched. I'd been a bit worried that it might all just unravel, but happily it didn't.
The unwanted areas in the middle cut away - the really scary bit!
Success! That's a relief. Stitching it to a background fabric should be plain sailing.
Sunday, 30 November 2014
Silver snowdrop sample - the snowdrops
Another ghastly photo, but hopefully you can more or less tell that I've finished the satin stitch for the upper leaves and around the edge of the snowdrops:
That's all the embroidery done - now to cut it out...
Thursday, 27 November 2014
Silver snowdrop sample - satin stitch
To hold the silver mesh in place, I'm stitching over it in sating stitch around the edge; the double row of split stitch forms the extent of the satin stitch, leaving as much of the mesh exposed as possible.
The roots first:
Stems and most of the leaves:
The large single leaf:
My stitching looks terrible in the photo - the light seem to catch everything and makes it look much worse than it does in reality. Or I think so, anyway - you'll just have to believe me!
I'll do the snowdrops themselves next.
The roots first:
Stems and most of the leaves:
The large single leaf:
My stitching looks terrible in the photo - the light seem to catch everything and makes it look much worse than it does in reality. Or I think so, anyway - you'll just have to believe me!
I'll do the snowdrops themselves next.
Sunday, 23 November 2014
Silver snowdrop sample - outline
A short post for a fair amount of sewing: using split stitch, I've worked a double row of stitches around the outline of the design, and just inside it:
I want the silver mesh to form the design and so be as visible as possible, but it also needs to be held firmly in place so stitching is needed, so a compromise is needed. Now the outline is done, I can do the proper stitching next.
Subscribe to:
Posts (Atom)