Using cotton upholstery fabric in a toning shade, I cut a rectangle slightly larger than the panel. I turned the edge under all the way round and pinned it into place:

In close up:

Then, with matching sewing thread and a curved needle, I ladder stitched it into place:

Curved needles aren't the easiest things to use - I always find them very tricky to thread, for a start - but for a job like this they're invaluable.
Here's the panel with the back stitched on all the way round:

It's stretched quite taut and is nice and flat.
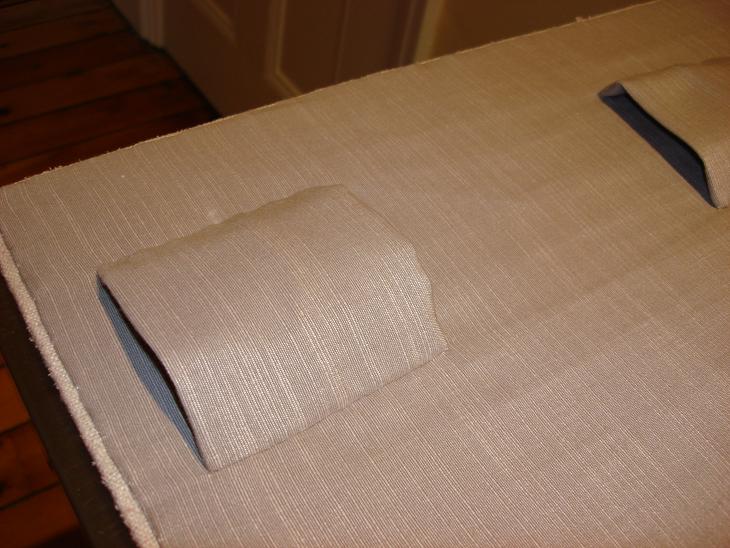
It still needs some way of hanging it, though. For this, I cut out a series of small rectangles of the same backing fabric. three for each panel:

I neatened the edges with the overlocker, and joined the two short edges together, to form a sleeve:

The sleeve was turned the right side out and pressed, with the seam in the centre of the back:

I then turned the edges in, and pressed them into place:

Using tailor's chalk, I marked where on the back of the panel the sleeves were to go, and pinned them in place:

The chalk marks weren't much clearer than that in real life!
Using the curved needle again, I ladder stitched each sleeve to the backing fabric. I stitched both edges, as the double row of stitching will give additional strength to support the weight of the panel. Here's the inner edge being stitched:

And with both edges stitched:
The sleeves can now have a length of dowel slotted through, which will hang on hooks to display the panel:

The three sleeves should distribute the weight, and the gaps between them allow two or more hooks to be used, again to distribute the weight and the keep it straight.


Thanks for that *grin*
ReplyDelete