The only practical thing to do, really, was to rework the design. I made the large spiral smaller, but somehow that made the rest of the design look unbalanced, so I redid the rest of it too. It's now similar in concept to the original version, but is actually a completely new design.
And here it is:

As all the setting-up process is exactly the same as for the other two panels in the series I won't go into too much detail on that, apart from one thing: a new transfer pencil.
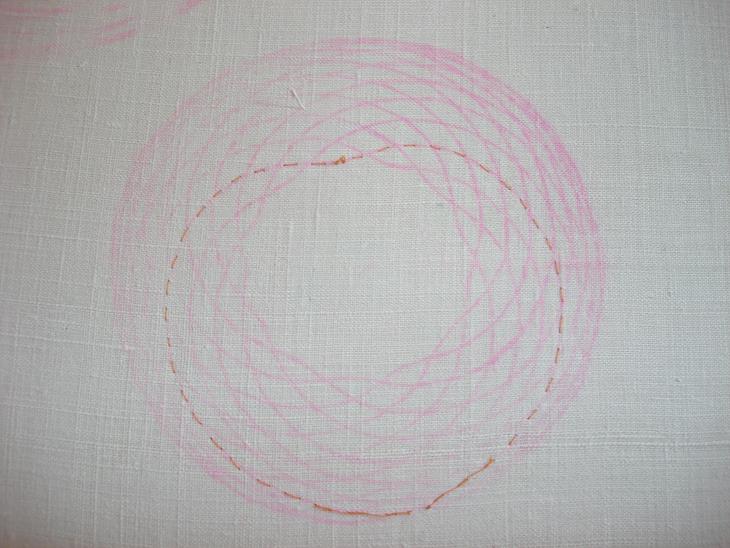
I've used blue transfer pencils for years, but while they certainly transfer the design well, I've always found them very prone to smudging, so when I found a red pencil, I thought I'd give it a try. Here's the first spiral, transferred onto the linen backing:

Well it's a very pretty shade of pink, but it's not that easy to see. It seems to need a hotter iron to transfer - to melt whatever the 'lead' is made of so it will stick to the fabric - than the blue pencil, which is good in that it smudges a lot less as little flakes of pencil stuff don't melt everywhere, but not so good in that the tracing paper (kitchen greaseproof paper, in this case) was singeing, and the design is still quite faint in places. It doesn't help that it's such a fiddly design - something simpler would be a lot easier to see - but all the same, it's hard work. I've gone over the hardest to see areas with an ordinary drawing pencil, to give me a fighting chance.
This spiral is one continuous line, but when drawing it, the line went round and round the outer circle multiple times, which is fine with ink but not really practical in stitch. So, I'm working each of the inner lines separately, then finally the outer circle.
Each of these inner lines starts at the edge, loops into the centre, then heads back to the edge again, making a sort of heart shape. However, when trying to trace them when making the transfer I kept getting hopelessly lost. This didn't matter for the transfer as long as all the lines were drawn in somehow, but was obviously no use at all for the final goldwork version, which needs to follow the correct line at all times.
I got round this when tacking each line through from the back by starting not at the edge, but from the centre.

I overstitched the first half of the 'heart' in this way, and it was far easier to follow the line, so when I also stitched the second half, it gave the correct line quite nicely without too much bother or any unpicking.
On the front, this was easy to see:

And to couch over with a double length of imitation Japanese gold thread:

This is the smallest of the spirals, at 12cm (just over 4.5"), so it didn't take too long to do. Here are the first three loops worked:

There are thirteen of these loops in all, and when they were all done, I could couch the final outer circle:

I'm really pleased with how this has turned out. It looks great in the sunshine (when we get any!), and I think this could be my favourite of all the panels.


It does look good! And what a lot of couching you've done!
ReplyDeleteSo, would you use the pink pencil again? Less smudging vs fainter outline and risk of burning?
I think so, but probably for simpler designs that are rather easier to follow.
ReplyDeleteThis one is really lovely - my favorite so far. I think I would go mad with that design though.
ReplyDelete